
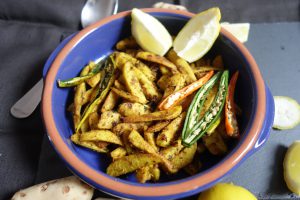
Crispy masala arbi recipe (taro root ) recipe
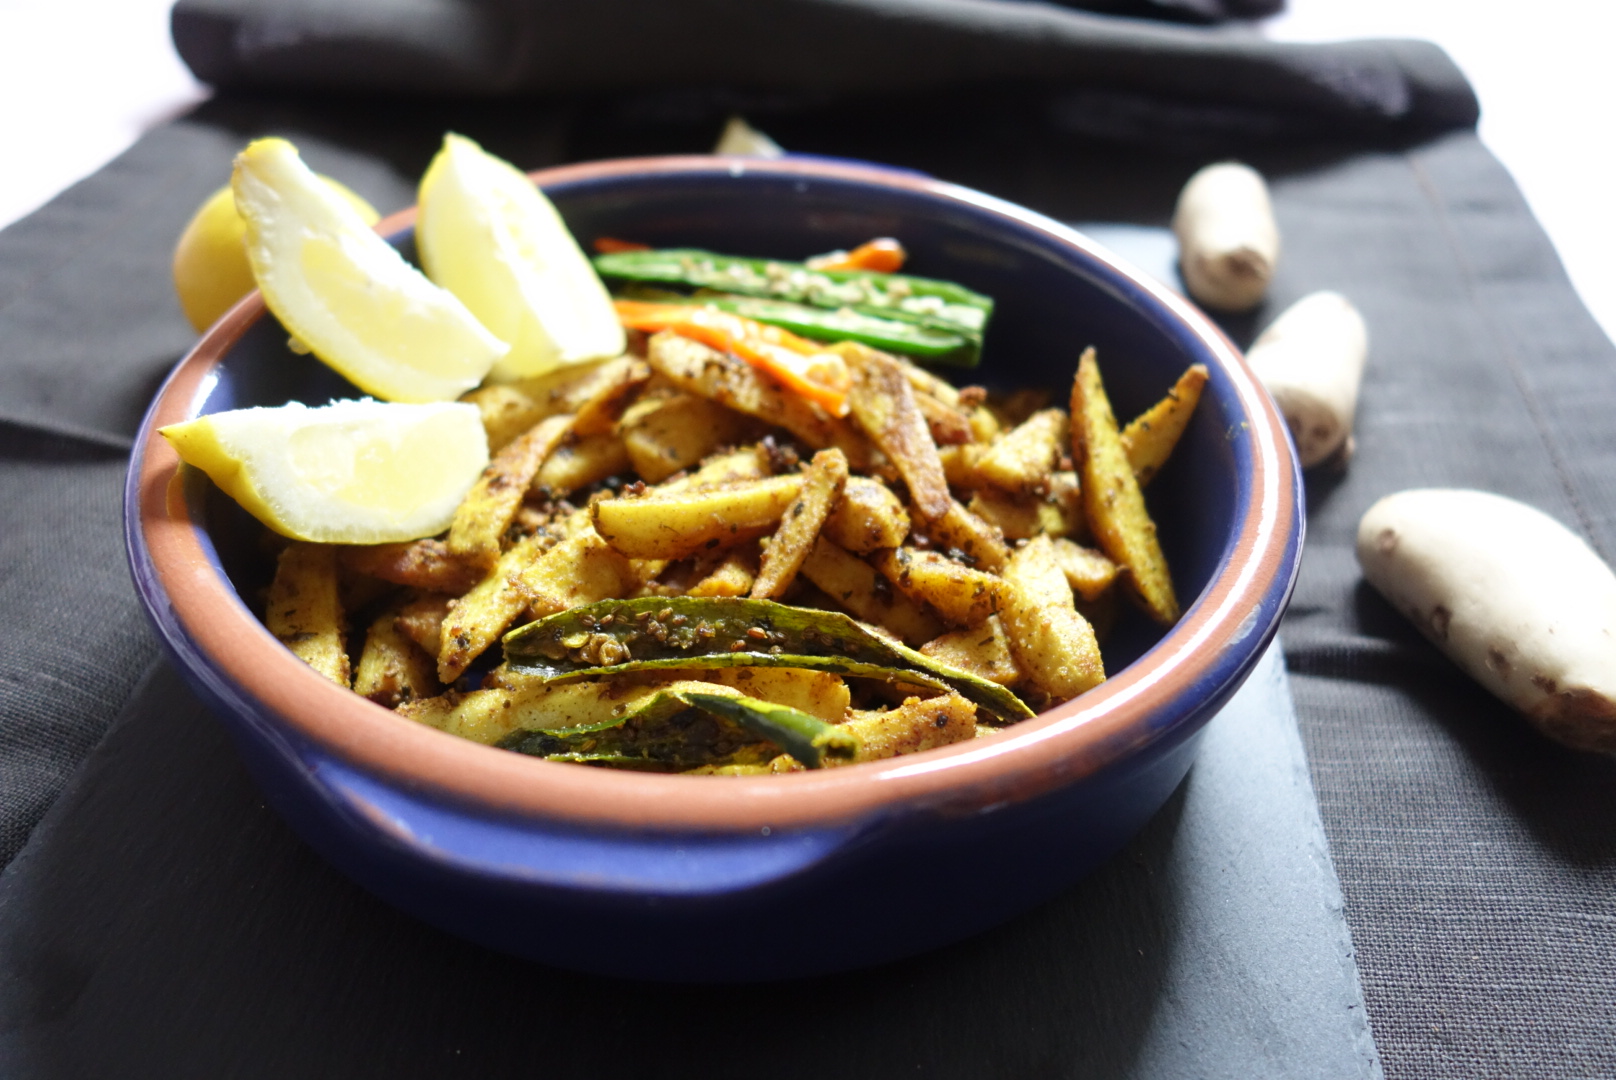
Crispy masala arbi recipe (Taro Root recipe) recipe-A quick, simple , arbi recipe full of flavours, crispy crust and tender bite. It has flavours of caraway seeds, and garlic. Coated in chickpea flour for the crispiness, and served with a drizzle of fresh lemon juice. Crispy masala arbi is perfect snack, and an accompaniment to complete your meal.
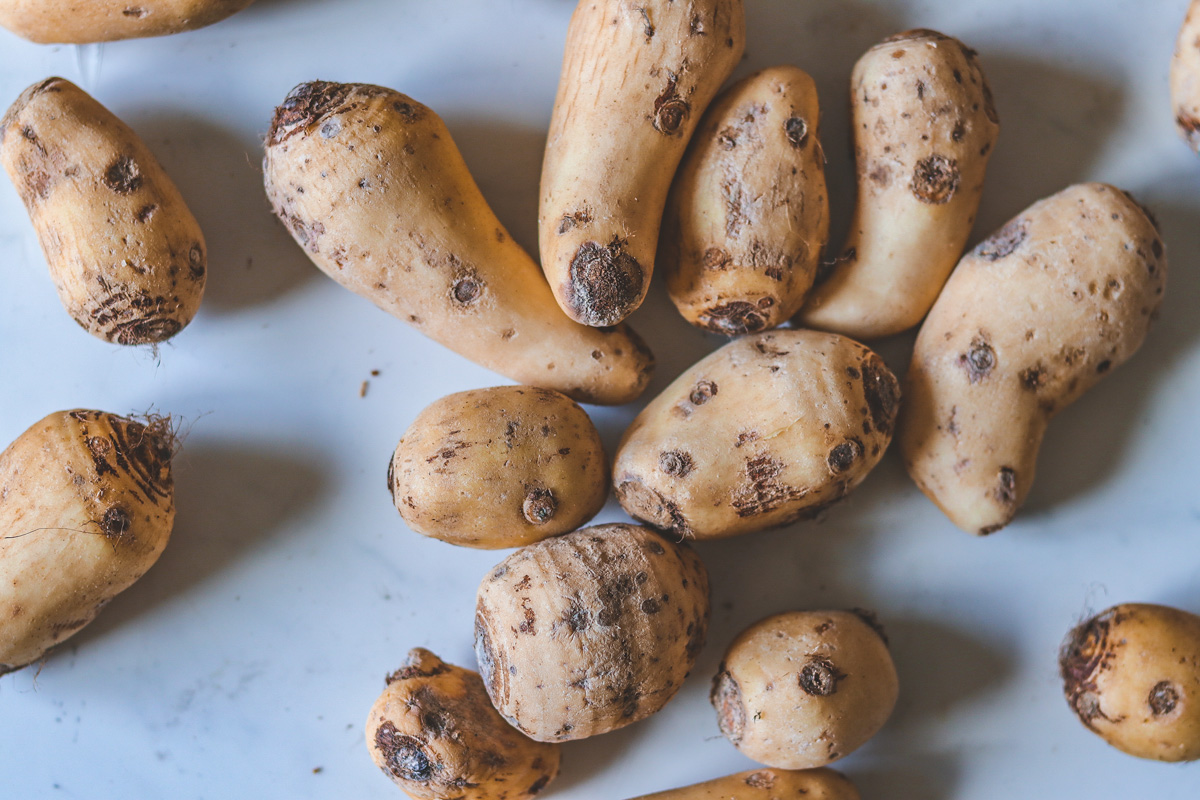
Is Arbi healthy?
Arbi/ Arvi or colocasia root /taro root as arbi is called in English, is one healthy vegetable cooked regularly in Indian homes. It contains a wealth of organic compounds, minerals, and vitamins that can benefit our overall health in a number of ways.
Arbi has a significant amount of dietary fiber and carbohydrates, high levels of vitamin A, C, E, vitamin B6, and folate. It also contains magnesium, iron, zinc, phosphorous, potassium, manganese, and copper .
On top of all health benefits if cooked properly this is really tasty as well, like this crispy masala arbi recipe!
Crispy masala arbi recipe
Now keeping aside the healthy vs yummy debate , let us get back to the main topic. There are a number of ways to make this power veggie Arbi , but today I’m sharing a very simple way of cooking arbi.
This one is my mum’s recipe, and during India’s extreme summers, this was a regular at our lunch or dinner times as a side dish with daal (lentils),roti(I preferred paranthas), Onion salad, Mango pickles, raita ,cold lassi and yummm sweet cold mangoes.
Im drooling and feeling so nostalgic.
This is one of those easy and quick Indian recipes that require no onions , tomatoes or ginger.This arbi ki sabji recipe is inherently vegan and gluten free,
This masala arbi recipe ,you can have it as a starter / snack or as a meal with roti/ chapati /naan and even bread, on one of the days when you don’t want to spend too much time in the kitchen “cooking”.
It tastes just as delicious with puri or paranthas and some pickle .
This is also a great accompaniment with roti and daal (lentils) specially moong daal. These two (moong daal and arbi) are the best friends. Moong daal goes well with almost all vegetables. It is so affable.
This recipe is quite simple , and easy to cook, with really few ingredients.
If you are looking for interesting taro root recipes, check this arbi fries (fried taro chips recipe ) .
Let’s now get started.Below is the recipe for tangy crispy masala arbi.I hope you like it.
Recipes that go well with Crispy Masala Arbi
If you try this and like this recipe, please rate it by clicking the stars below. And don’t forget to like , share the recipe and tag us on Instagram or Facebook using #frombowltosoul_ and #frombowltosoul . Please Comment below for any queries, suggestions and ideas .I would love to hear from you.
Join the “From bowl to soul” mailing list to hear more from us. Sign up here ?
Recent on the blog
- Roasted garlic butter

- Butter chicken recipe | Murgh Makhani (authentic indian curry recipe)
- Clear Vegetables and Beans soup
- Just the right holiday gift ideas for the season- A holiday gift guide for your loved ones.
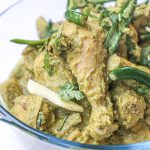
- Hari mirch murgh / Green chilli chicken recipe – A simple delicious party pleaser


- Roasted garlic butter
- Butter chicken recipe | Murgh Makhani (authentic indian curry recipe)
- Clear Vegetables and Beans soup
- Just the right holiday gift ideas for the season- A holiday gift guide for your loved ones.
- Hari mirch murgh / Green chilli chicken recipe – A simple delicious party pleaser
Recipe Card
Crispy masala arbi/arvi recipe
Ingredients
- 3-4 tbsp mustard oil any vegetable oil can be used, but mustard oil adds so much flavour to your dish
- 500 gms arbi/arvi/ you can cut it round, or slice it long
- 8-10 cloves garlic chopped
- a pinch of asafoetida/ hing
- 1 tsp ajwain/carom seeds
- 4-5 Slit green chillies depending on how spicy you want, you can add or reduce the number of green chillies
- salt as per taste
- 1 tsp red chilli powder depending on how spicy you want, you can adjust the qty
- 3/4 tsp haldi/ turmeric powder
- 1 tsp dry fenugreek leaves crush them by hand to enhance the falvor
- 1 tbsp amchoor/dry mango powder
- 1 heaped tbsp besan/ chickpea flour
- 1 tsp fresh lemon juice
- 2-3 slit green chillies for garnishing
- fresh coriander leaves for garnishing
- lemon wedges for garnishing
Instructions
- Now before you start "handling " taro root/ arbi, there is one thing that you need to keep in mind . Arbi can cause itching in hands, so please apply some vegetable oil on your hands ,before you start peeling and slicing it.Once sliced, rub some salt on arbi and keep it aside for 5-10min . In the meantime gather rest of the ingredients.Then wash the slices properly in cold water and it is ready to cook.
- Start with heating the mustard oil to smoking point (the colour of the oil will start to lighten). Turn the heat to medium, and add hing(asafoetida), ajwain seeds(carom/ caraway seeds).It will splutter. Keep stirring and add chopped garlic.
- Saute till the garlic loses its raw smell. Do not brown it, as it will taste bitter.
- Add the main ingredient – Arbi.
- Add salt, red chilli powder,haldi (turmeric) powder and dry fenugreek leaves and slit green chillies.
- Mix everything well and cover the pan .Let it simmer for few minutes on low heat.
- Open the pan and check if the arbi is done. You can check this with a spoon, if you can just slice it using a spoon/ ladle it is done.
- Add the amchoor/ dry mango powder and mix well.
- Now add the besan/ chickpea flour . Increase the heat and mix the flour well with the vegetable. Just let it saute on high heat for 3-4 min , Keep mixing at intervals.Once you see the oil separating, it is done.
- Now the tangy crispy masala arbi is ready.While serving squeeze a little lemon juice on it.
- Garnish it with slit green chillies and lemon wedges and serve it as a snack or starter or as a side dish.
Video
Notes
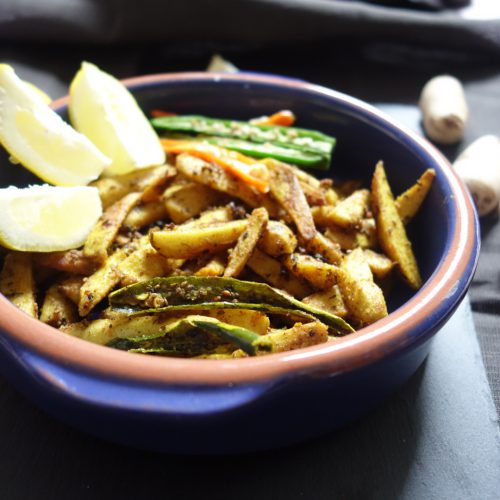
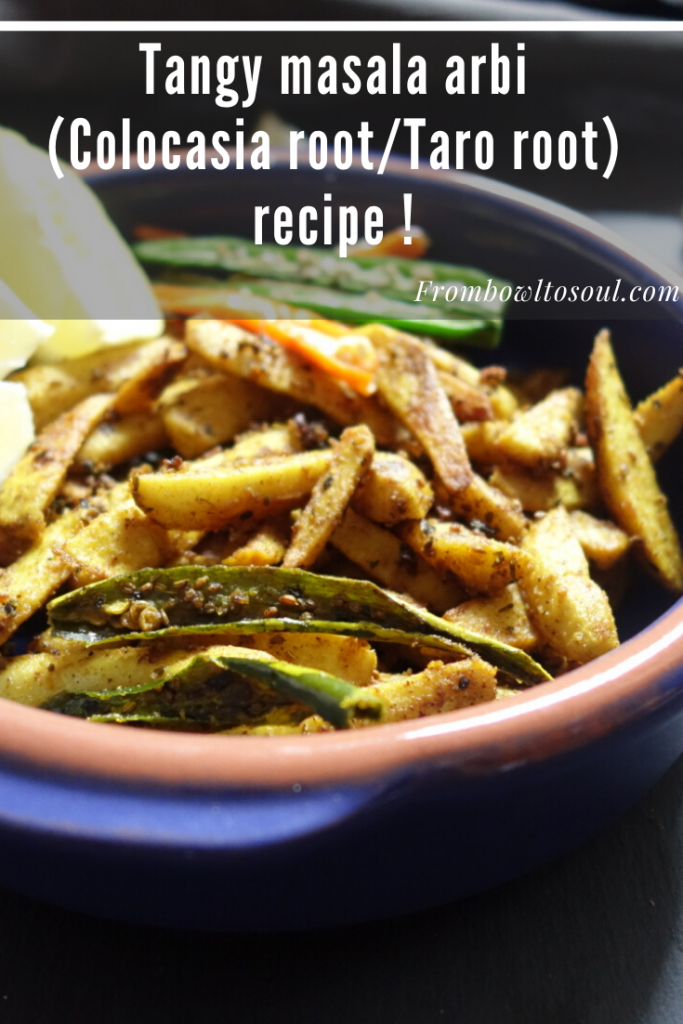
Pin this post for later– click on any of the pictures to pin this for future.
Check out more quick video recipes here